
How to Maintain Wood Fence: A St. Charles Guide

You notice the fence while taking out the trash. A few pickets have turned gray, one post looks slightly out of line, and grass is pressed against the bottom rail. After a wet Midwest spring, the lower boards may stay damp long after the rest of the fence looks dry. That's the point when a quick inspection can prevent a small repair from becoming a full section rebuild.
Learning how to maintain a wood fence in St. Charles, O'Fallon, and nearby communities means working with the local cycle of rain, summer sun, freezing temperatures, thawing ground, and shifting moisture. A fence that looks sound from the driveway can still have soft wood at the post bases or loose hardware behind the pickets. The reliable approach is simple: inspect regularly, clean gently, protect the surface, and repair structural problems before applying a finish.
Understanding Your Annual Fence Inspection Routine
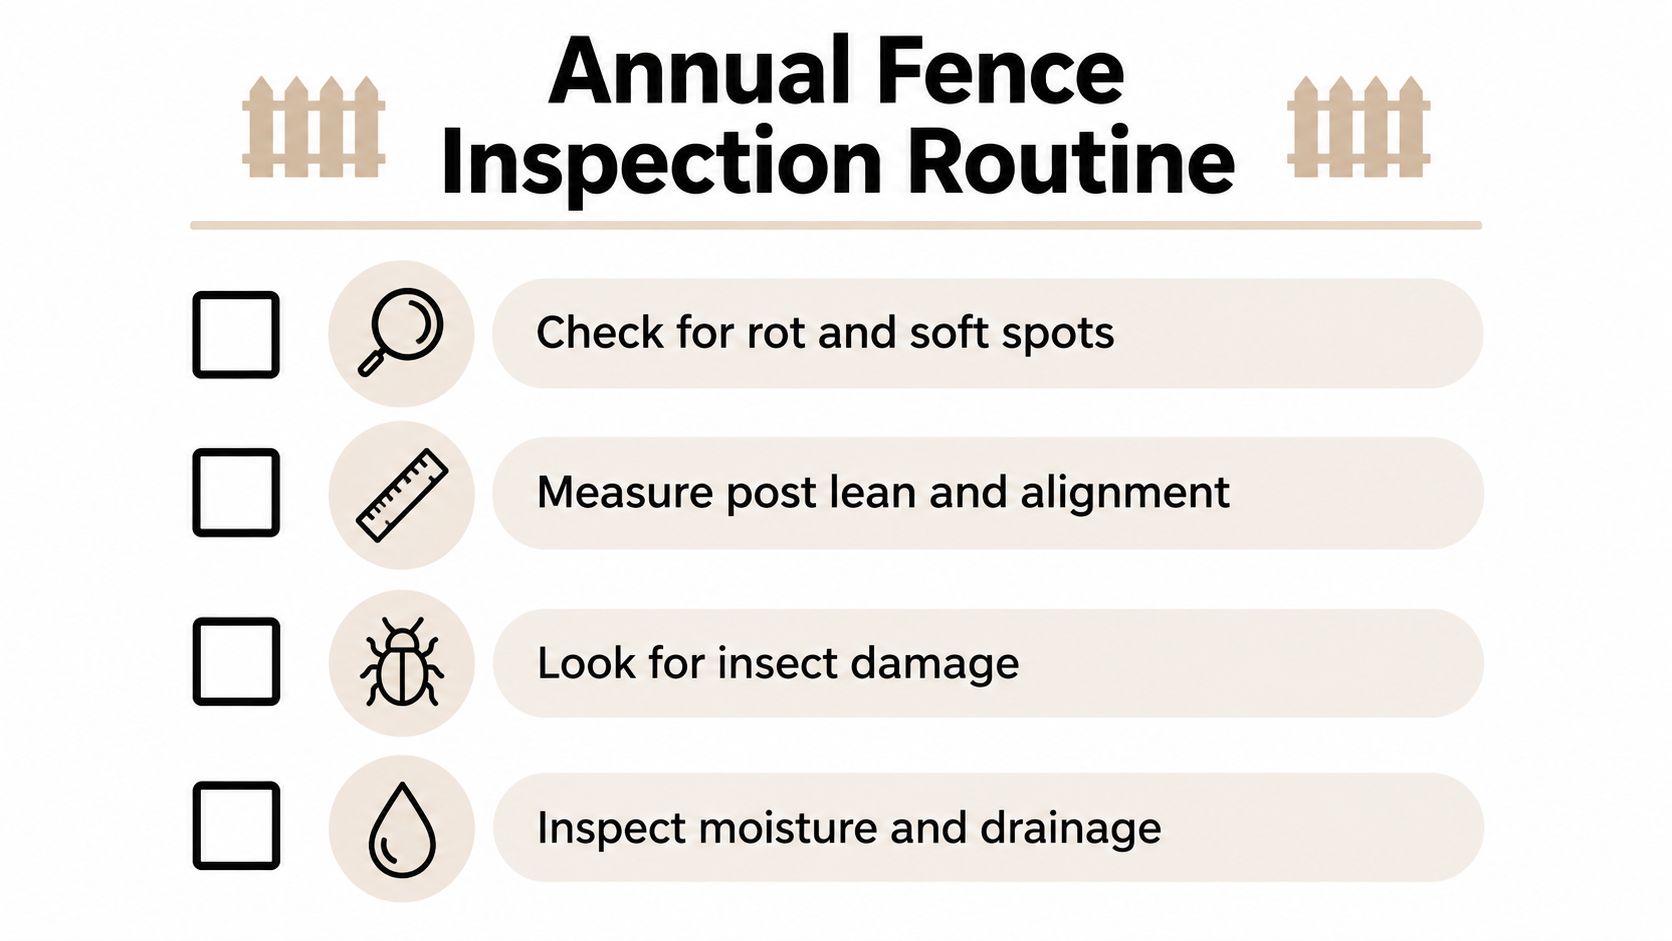
After a St. Charles or O'Fallon winter, inspect the fence before deciding it only needs a fresh coat of stain. Freeze-thaw movement can shift posts, spring rain can keep soil damp, and summer heat can open cracks in exposed boards. Walk the entire run from both sides, viewing it from top to bottom and lengthwise. Check every post, rail, picket, gate connection, and fastener.
Inspect the wood, not just the finish
Test suspicious areas with a screwdriver, especially at post bases and along pickets close to the ground. Sound wood resists light pressure. Soft or spongy wood has lost strength, and stain or sealer will only conceal the problem temporarily.
Look for:
Rot: Check darkened wood, soft spots, split grain, and areas that stay damp after the surrounding fence dries.
Movement: Push each post gently. Wobbling may come from shifting soil, a failed footing, or decay below grade.
Fastener problems: Identify popped nails, loose screws, rusted hardware, and rail connections that no longer hold firmly.
Insect activity: Small holes, frass, damaged fibers, or galleries can indicate insects, especially in damp or neglected sections.
Drainage trouble: Inspect mulch, soil, downspouts, and irrigation that may keep water against the fence line.
Maintain at least 12 inches of clearance between vegetation and the fence. Include that space in routine yard maintenance, along with yearly inspections, as recommended in this wood-fence lifespan guide.
Judge the whole run
One loose picket is usually a straightforward repair. Several leaning posts, rotted rails, or soft post bases indicate a structural issue that may require excavation, new concrete, or partial replacement. Gates need close attention because dragging, sagging, or a misaligned latch often exposes movement in the supporting post.
Practical rule: Probe the wood before sealing it. A clean surface can hide decay underneath.
Maintained cedar commonly lasts about 20 to 30 years, while pressure-treated pine commonly lasts about 15 to 25 years. Untreated pine or fir often lasts only 5 to 10 years. Poor drainage, constant wetting, and missed repairs shorten those service lives.
If the inspection finds more than isolated surface damage, professional home repair services can assess whether a targeted repair or replacement is the more practical choice. A professional visit may also account for hidden costs, including post removal, concrete disposal, replacement hardware, and correcting drainage that a weekend repair overlooks.
Cleaning Your Wood Fence the Right Way
Cleaning removes mildew, algae, dirt, pollen, and weathered surface residue that can interfere with a new finish. It also reveals defects that dirt may conceal. Start with a dry inspection, move loose debris away from the fence, and protect nearby plants before applying a cleaner.
Use pressure carefully
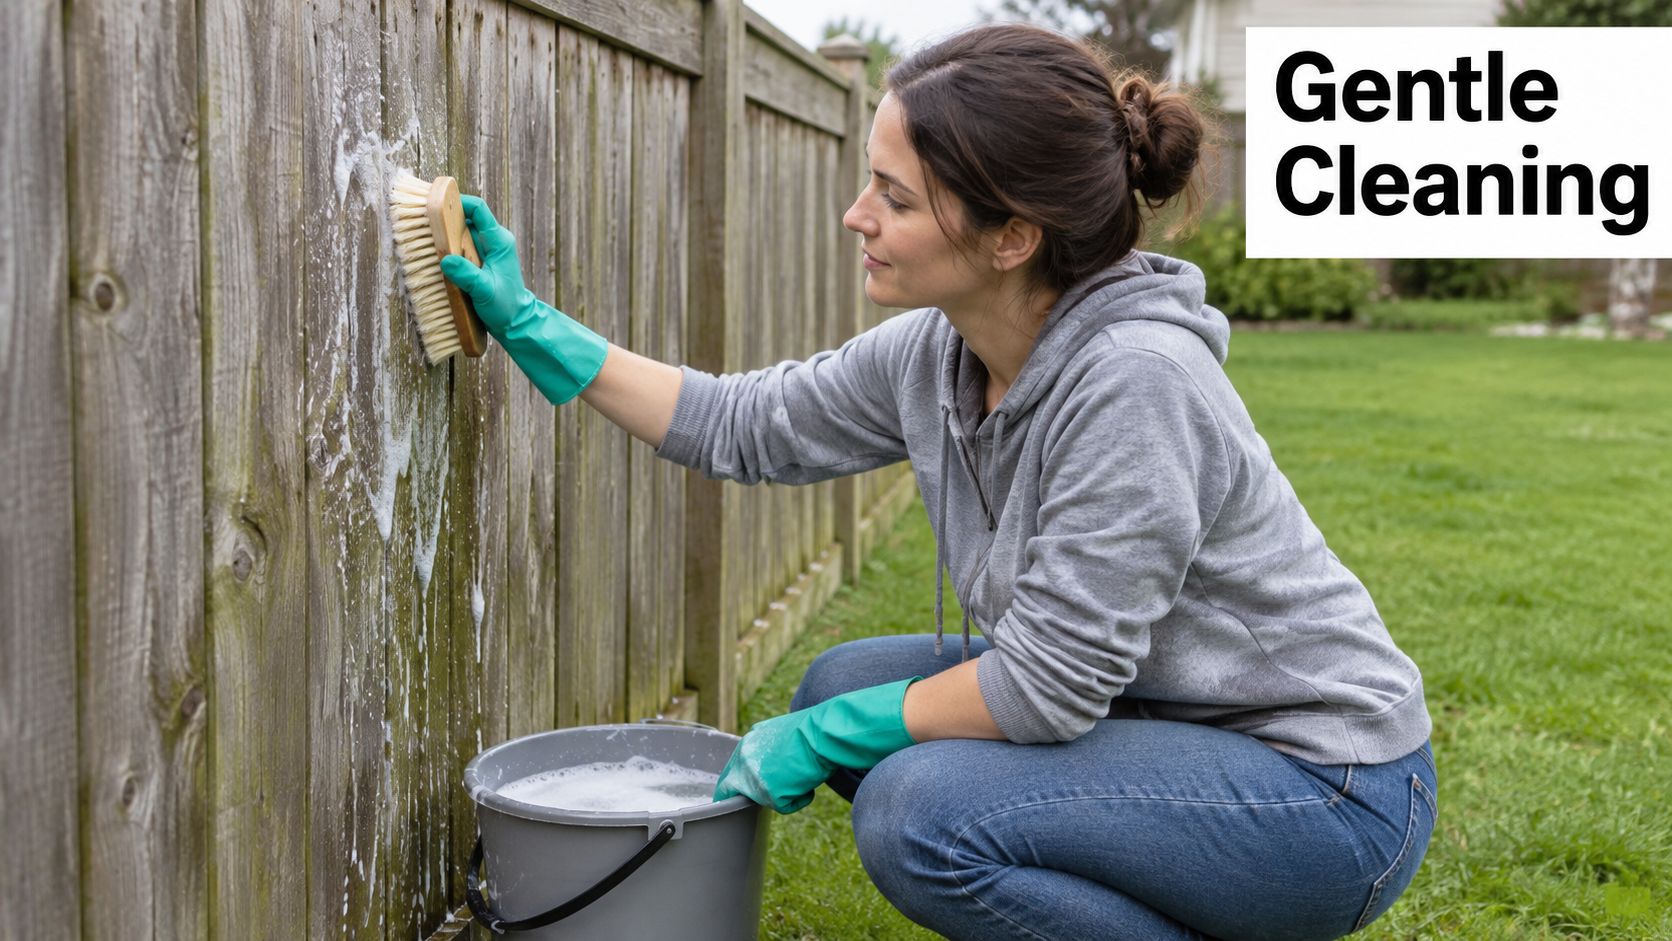
A pressure washer can clean quickly, but high pressure can scar the grain, raise wood fibers, and create splinters. Use a wide fan tip, keep the wand moving, and spray at an angle rather than driving water directly into the grain or joints. Test an inconspicuous area first. If the wood is already soft, cracked, or heavily weathered, hand scrubbing and a gentle rinse are safer.
For ordinary dirt, use a dedicated wood-fence cleaner and a soft-bristle brush. Mildew and algae need more than plain water because organic growth can hold moisture against the boards. Apply the product according to its label, scrub without grinding the fibers, and rinse thoroughly.
Match the treatment to the surface
Gray, stubborn weathering may require an oxalic-acid wood brightener before staining. That isn't the same job as removing mildew. Use the appropriate product, protect surrounding surfaces, and follow the manufacturer's safety directions. Don't mix cleaners or improvise chemical combinations.
The fence must dry completely before finishing. Guidance recommends 24 to 48 hours of drying after washing in one maintenance source, while another recommends 48 to 72 hours, as summarized in this wood-fence maintenance guidance. Cool shade, recent rain, dense vegetation, and damp board bases can extend the practical drying period.
This short demonstration shows the controlled cleaning approach to use rather than blasting the boards at close range.
Avoid the common shortcuts
Don't stain over mildew, don't coat damp wood, and don't use a narrow pressure-washer stream as if you're stripping concrete. Those shortcuts may produce a temporarily bright surface, but they can leave contaminants underneath or damage the fibers needed for a sound bond. Annual cleaning is part of a preservation routine, not just a cosmetic refresh.
Choosing the Best Stain and Sealant for Your Fence
The right finish depends on the wood, the exposure, and how much grain you want to see. A clear sealer preserves more of the natural appearance but gives less visual coverage. A solid stain hides more variation and can provide a more uniform appearance, but it changes the character of the wood.
Compare the finish types
Clear sealers offer a natural look and focus on water resistance, but they generally need more frequent attention. Transparent stains add subtle color while retaining most of the grain. Semi-transparent stains deepen the color and provide a practical balance between grain visibility and surface protection. Solid stains create the most uniform appearance and are useful when boards have mismatched color or extensive weathering.
The cited fence-maintenance schedule gives these broad reapplication ranges:
Finish | Typical reapplication interval |
|---|---|
Clear sealer | Every 1 to 2 years |
Transparent stain | Every 2 to 3 years |
Semi-transparent stain | Every 3 to 4 years |
Solid stain | Every 4 to 5 years |
Harsher exposure can require attention sooner. In St. Charles and O'Fallon, compare the fence's actual conditions with a neighbor's before copying their calendar. South- or west-facing boards, sprinkler overspray, dense shade, and vegetation against the wood can all change how quickly a finish wears.
Choose for the wood and the condition
Cedar often suits homeowners who want visible grain and a warmer natural appearance. Pressure-treated pine can be a sensible structural material, but it may hold treatment moisture and should be ready for finishing according to the product and lumber supplier's instructions. Don't assume a new board is ready just because it looks dry on the outside.
Look for an exterior product intended for fences, confirm compatibility with the wood, and test the color on an offcut or inconspicuous board. A small test shows how the finish reacts to the existing surface and whether the final color suits the rest of the run. If the fence needs a uniform color or extensive surface renewal, professional exterior painting services can handle preparation and coating as part of a broader repair plan.
Performing Minor Repairs and Fixing Damaged Boards
A single cracked picket doesn't automatically justify replacing an entire fence. Minor repairs make sense when the posts and rails remain solid, the damage is localized, and the replacement can attach to sound framing. The decision changes when rot reaches the structural members.
Replace an isolated picket
Remove the damaged board without disturbing adjacent pickets. For screws, use the correct driver and back them out carefully. For nails, pry against a scrap block to protect the neighboring wood. Measure the opening, cut a replacement from compatible exterior lumber, ease any sharp edges, and fasten it to the existing rails with exterior-rated screws or suitable galvanized fasteners.
Don't force a warped board into place with excessive pressure. The rail can split, the fastener can pull out, and the new picket may spring back after installation. Align the top edge and spacing with the surrounding boards, then leave the replacement ready for the same cleaning and finishing process as the rest of the fence.
Compare repair jobs realistically
Repair | DIY is reasonable when | Call a professional when |
|---|---|---|
One loose picket | Rails are firm and fasteners can grip | Several boards are loose or the rail is soft |
Broken post cap | The post itself is straight and sound | The post is leaning, split, or rotted |
Loose rail connection | The post and rail ends are solid | The connection has lost structural wood |
Warped board | The board can be repositioned without force | Warping is widespread or framing has shifted |
Sagging gate | Hardware is intact and the post is stable | The gate post moves or the frame has twisted |
A small repair should solve the cause, not hide it. If a picket is loose because the rail has rotted, replacing the picket alone wastes time. If a gate drags because its post has shifted, tightening the hinge screws may provide only temporary relief.
Know where DIY ends
Widespread soft wood, rails rotting at the post level, multiple leaning posts, or a fence section that moves as one unit indicate structural deterioration. At that stage, the work may involve supporting the fence, removing connected sections, resetting posts, matching materials, and restoring alignment. Those tasks require more than a drill and a replacement board.
A handyman repair service can be appropriate when the repair crosses from isolated carpentry into structural correction. Have the damaged area assessed before buying a large quantity of lumber or coating. The cheapest-looking fix often costs more once failed materials, repeat labor, and unfinished cleanup are included.
Seasonal Maintenance Schedule for St. Charles Areas
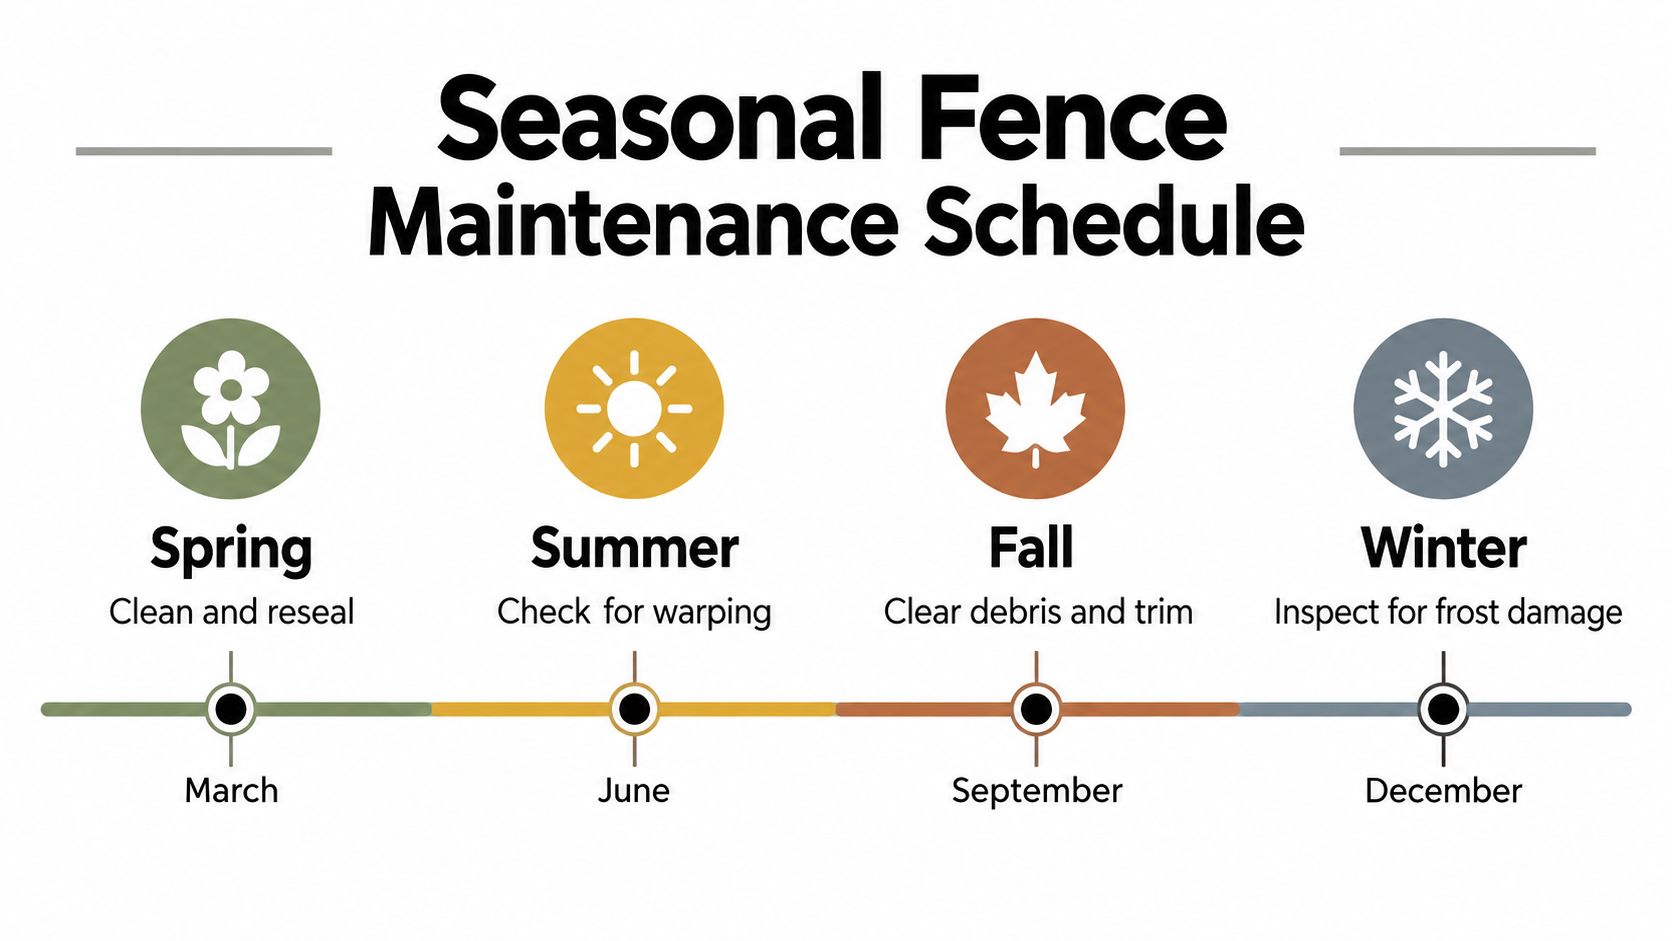
St. Charles-area fences experience repeated shifts between wet weather, hot sun, cold temperatures, and thawing ground. A fixed calendar helps, but the fence's exposure matters more than the date alone. Inspect after major storms and after periods when the ground stays saturated.
Spring
As temperatures stabilize, walk the complete fence line and look for frost-related movement, loose posts, cracked boards, and gate misalignment. Clear winter debris, trim vegetation, and correct drainage problems before washing. Late spring is often a practical window for deep cleaning and resealing because the wood has time to dry before the hottest summer conditions arrive.
Don't rush to stain after a cool or wet stretch. Check the boards, post bases, and shaded areas rather than relying on the top surfaces alone.
Summer
Sun and heat expose weak finishes, while lawn irrigation can repeatedly wet the same section. Adjust sprinkler heads so they don't spray the fence, watch for cupping or new splits, and keep grass and vines away from the lower boards. Gates may change alignment as posts and soil respond to moisture conditions, so check latches and clearances if the gate starts dragging.
A south- or west-facing run may need a different coating schedule from a shaded side yard. Use the finish condition as your guide rather than applying another coat automatically.
Fall
Falling leaves and damp organic debris can sit against the bottom of pickets and restrict airflow. Clear the fence line, trim bushes, remove accumulated mulch from the wood, and check drainage before winter. This is also a good time to tighten accessible hardware and repair small defects identified during summer.
Winter
Avoid coating wet or frozen wood. Inspect after freeze-thaw cycles for shifted posts, lifted soil, split boards, and gate movement, then make a note of repairs for the next suitable weather window. Keep snow, stored materials, and wet debris from pressing against the fence.
Winter maintenance is mostly prevention. Keep water, vegetation, and stored materials from turning the bottom of the fence into a permanent damp zone.
Tools, Costs, and Time Estimates for Fence Care
A small, sound fence section can be a manageable homeowner project. The hidden difficulty appears when cleaning reveals rot, preparation takes longer than expected, or the work requires repeated trips for fasteners, replacement lumber, cleaner, stain, and disposal. Material prices and labor rates vary, so the table below uses qualitative estimates rather than invented dollar amounts.
Build the tool list around the job
For inspection and minor repairs, gather a screwdriver or awl for probing, a drill and exterior-rated screws, a pry bar, a hammer, a level, a tape measure, replacement lumber, and personal protective equipment. Cleaning may require a soft-bristle brush, buckets, a garden hose, a wood-safe cleaner, drop cloths, and plant protection. If you use a pressure washer, add eye protection, waterproof footwear, and a wide fan tip.
Staining requires clean brushes, rollers, an extension pole, painter's tape, gloves, and enough time for the wood to dry fully. Don't buy the finish before checking how much of the fence needs preparation. A fence with peeling coating may need scraping and additional cleaning, while a fence with soft wood needs repair before any coating.
Estimate the real project
Task | Estimated Cost | Time Required | Key Materials Needed |
|---|---|---|---|
Annual inspection | Low if done yourself | A short walk of the full fence run | Screwdriver or awl, gloves, notebook |
Hand cleaning | Low to moderate, depending on supplies | Part of a day or longer for a heavily soiled run | Wood cleaner, brush, hose, protective gear |
Pressure-washer cleaning | Low to moderate if equipment is available | Part of a day, plus drying time | Wide fan tip, wood cleaner, hose, safety gear |
Minor picket repair | Moderate, based on lumber and hardware | Several hours for isolated damage | Matching board, saw, drill, exterior screws |
Recoating | Moderate to substantial, based on finish and preparation | More than one work period because drying is required | Stain or sealer, brushes, rollers, drop cloths |
Structural section repair | Substantial and highly variable | May extend beyond a weekend | Replacement lumber, posts, concrete, hardware, disposal |
The hidden cost of DIY isn't only the product receipt. It can include equipment rental, damaged boards from aggressive washing, replacement fasteners, disposal, repeated trips, time spent matching old lumber, and corrections when a post or rail turns out to be rotten. A weekend plan can become a professional job when the fence needs post replacement, structural bracing, or extensive surface preparation.
Budgeting insight: Price the condition you have, not the fence you hoped to find after cleaning.
DIY makes sense for inspection, vegetation control, gentle washing, and an isolated picket or cap when the framing is sound. Call for help when posts wobble, rails are soft, several sections lean, or the gate and fence have shifted together. Those symptoms point to structural work, and a failed repair can leave the fence less stable than before.
1st Choice Home Repairs handles fence installation, repair, handyman work, and exterior painting for homeowners in St. Charles, O'Fallon, Lake St. Louis, and nearby communities. If your inspection finds rotten posts, damaged sections, or a finish project beyond a comfortable DIY repair, visit 1st Choice Home Repairs to discuss the work and request a practical next step.
Comments