
Best Paint for Outside Trim: How to Choose the Right Option

100% acrylic latex paint in a semi-gloss or soft-gloss sheen is the best all-around choice for most exterior trim, with premium products commonly lasting about 4–6 years before a refresh is needed. The right specific product still depends on whether your trim is wood, vinyl, metal, or fiberglass, along with the local climate and how much maintenance you're willing to handle.
You've probably seen the failure firsthand on a St. Charles porch. You spend a weekend scraping, sanding, priming, and painting the window casings or fascia. The finish looks sharp through the first season. Then the next hot summer leaves it chalky, the joints begin to crack, and the lower trim starts peeling where rainwater runs off the roof.
That failure isn't always caused by careless painting. Often, the coating chemistry, sheen, trim material, and exposure never belonged together in the first place. The best paint for outside trim isn't selected by brand name alone. It's selected by matching the entire coating system to the surface.
Why the Best Paint for Outside Trim Depends on More Than Brand
A strong exterior trim coating needs to handle sunlight, rain, moisture, temperature changes, and frequent contact. For most residential trim, 100% acrylic latex is the strongest all-around category because it combines flexibility, adhesion, and resistance to peeling and cracking, as outlined in this history and performance overview of exterior trim paint.
Semi-gloss or soft-gloss usually makes the most practical sense. The smoother film sheds water and dirt more effectively than a flat finish, while the acrylic binder can move slightly as the substrate expands and contracts. That combination matters on window casings, fascia, door trim, soffits, and porch details that receive repeated weather exposure.
The surface underneath changes everything
Trim isn't one uniform material around most homes.
Wood moves with moisture and temperature. It needs a coating that can flex rather than splitting along the grain.
Vinyl is smooth and non-porous. Paint must bond without creating problems for the material or trapping heat in an unsuitable dark color.
Metal expands, contracts, and can corrode. Preparation and primer selection matter as much as the topcoat.
Fiberglass needs careful cleaning and adhesion preparation. A flexible acrylic system is generally more appropriate than a brittle film.
A paint that performs well on primed wood may not be the right product for vinyl window trim. A metal railing may require corrosion control before any decorative coating goes on. Applying one leftover gallon to every surface is how a homeowner turns a weekend project into a recurring repair.
Practical rule: Choose the coating system after identifying the substrate, not before.
Missouri exposure makes weak choices obvious
St. Charles homes see changing conditions across the year. Trim can face bright sun on one elevation, shade and moisture on another, and concentrated runoff below rooflines. The most exposed edges usually reveal poor compatibility first, especially where boards meet, where caulk lines move, and where water sits or repeatedly splashes.
Historical paint development shows why modern binders matter. Early exterior wood protection relied heavily on pure oil binders, while the release of DuPont's Dulux GA-11 in May 1931 marked a major move toward formulated exterior house paints, according to the same exterior coating history. Modern acrylic systems are designed around movement, adhesion, and weather resistance rather than just leaving a hard film on the surface.
Before buying paint, inspect the trim and answer four questions:
What material am I painting?
Is the existing coating sound, chalky, glossy, or peeling?
Does this area receive direct sun or regular runoff?
Do I want the shortest upfront project or the longest practical maintenance interval?
For broader repair and maintenance guidance, homeowners can also review the 1st Choice Home Repairs blog. The useful takeaway is simple: the best paint is the one that suits the surface and the exposure, not necessarily the most expensive can on the shelf.
Understanding Exterior Paint Chemistry and Real-World Performance
A south-facing porch can expose trim to strong sun while the shaded side stays damp after rain. The coating has to handle those conditions without losing adhesion, becoming brittle, or trapping moisture. That is why paint chemistry matters, but chemistry only works when it matches the substrate, exposure, and maintenance interval.
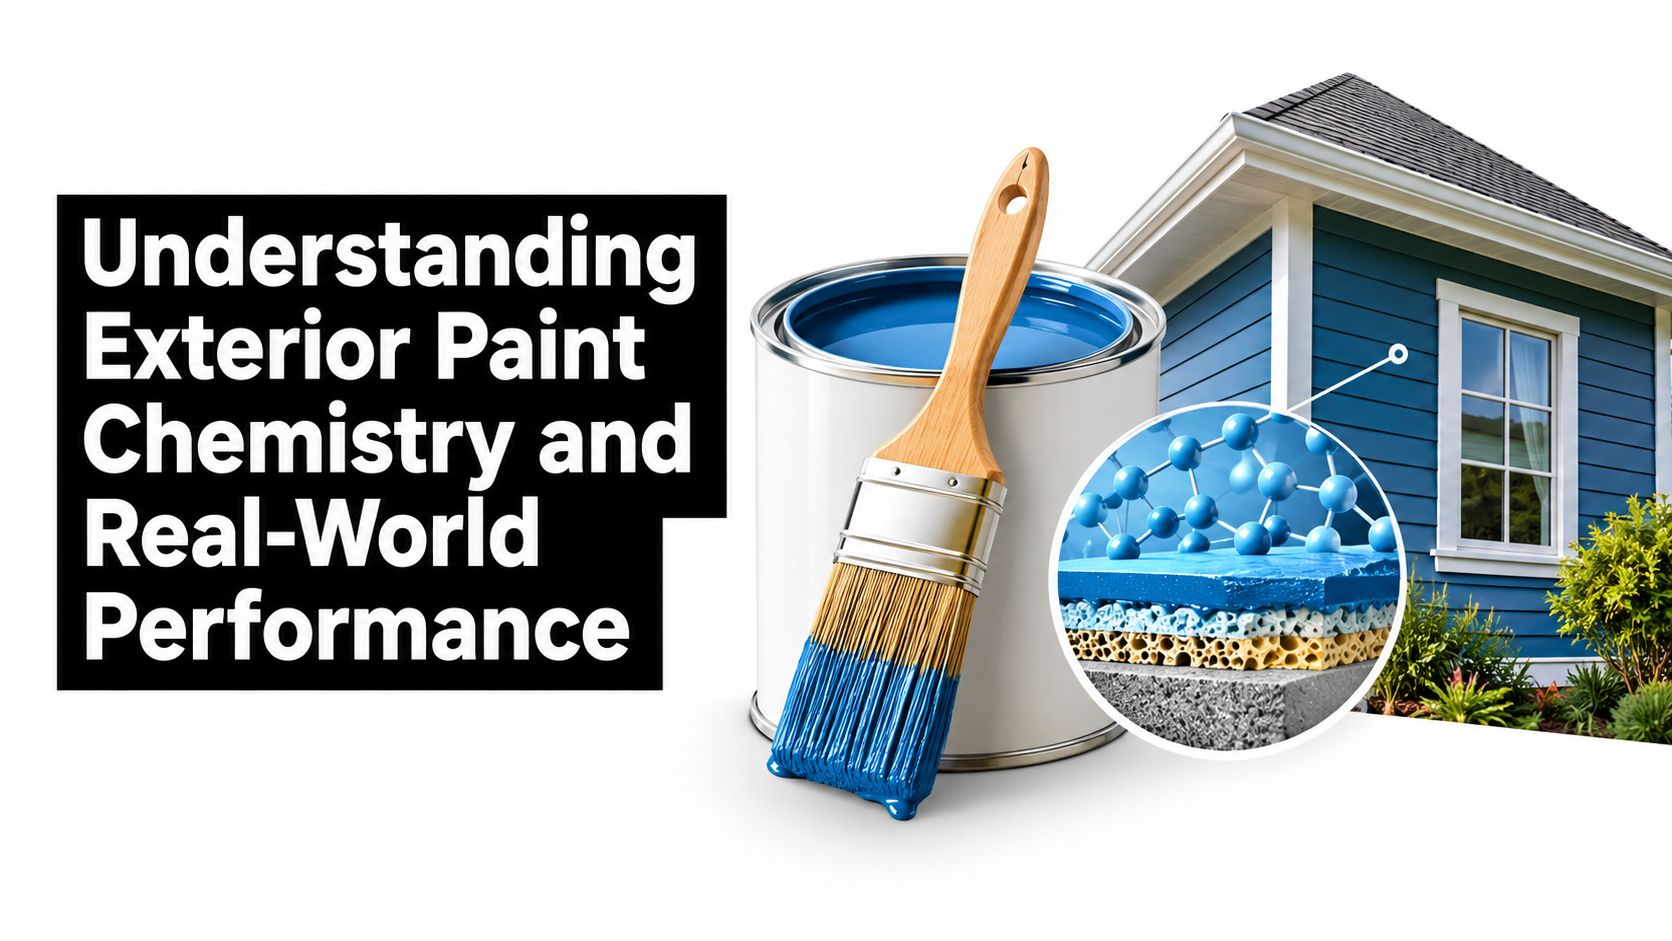
Exterior paint works as a system. The binder holds the coating together and controls how well it adheres, flexes, and resists weather. Pigments provide color and help limit light-related deterioration. The liquid portion carries the formula during application, then leaves as the coating dries.
For outside trim, the binder deserves close attention. A 100% acrylic latex binder generally remains more flexible through temperature changes than cheaper vinyl-acrylic blends. That flexibility lets the film move with wood, metal, fiberglass, or other prepared substrates instead of turning brittle and cracking at joints and exposed edges. It does not correct poor cleaning, loose paint, or an unsuitable primer.
What the technical numbers mean on a house
Technical data sheets can look like laboratory paperwork, but several measurements connect directly to what appears on a St. Charles porch.
A manufacturer's data sheet for an exterior house-and-trim acrylic lists application down to 40°F, mildew-resistance testing that passes ASTM D3273, flexibility testing that passes ASTM D522 without cracking, elongation around 420%, and tensile strength around 809 psi. Those figures are reported in the manufacturer's technical data sheet.
Read the measurements this way:
Low-temperature application: The product may be applied in cooler conditions within the stated limits. The surface still needs to be clean and dry, and the weather must allow proper curing.
Mildew testing: The coating resisted mildew under a defined laboratory method. That does not replace washing a dirty surface or correcting persistent dampness.
Flexibility testing: The film bent under test conditions without cracking. Trim needs that tolerance because boards, joints, and adjacent materials move.
Elongation: The coating stretched before breaking. Greater stretch capacity can help where the substrate shifts with heat and moisture.
Tensile strength: The number describes the pulling force the film withstood during testing. It provides context, but it cannot compensate for weak adhesion or bad preparation.
A homeowner does not need to compare every laboratory figure between brands. Choose an exterior acrylic intended for the job, confirm that it suits the substrate, and read the application requirements. The data sheet often reveals limitations that the front label leaves out.
Why premium acrylic costs more
Premium products cost more because their formulas are built to maintain adhesion and flexibility under tougher exposure. This Old House's exterior paint guidance summarizes premium exterior paint near $70–$100 per gallon, with coverage estimates around 350–400 square feet per gallon.
Coverage is an estimate, not a promise that one gallon will finish all the trim. Rough wood, heavy texture, porous repairs, spraying, and a major color change can increase usage. Trim also contains substantial edge area compared with its visible face, so a wall-area calculation can leave the project short.
A good-looking trim finish commonly lasts about 4–6 years before repainting, while some high-quality acrylic latex systems are described as lasting 5–8 years in mild climates and 3–5 years in harsher UV or coastal zones, according to This Old House's exterior paint guidance. A warranty advertised for up to 25 years needs careful reading. Its conditions may be limited, and the warranty period may not match the time before sun-exposed trim needs washing, touch-up, or a new coat.
A long warranty does not mean trim will look freshly painted for the entire warranty period.
Vinyl-acrylic paint can suit lower-demand work, but it is rarely my first choice for exposed exterior trim. The lower starting cost becomes less attractive if the coating chalks, loses flexibility, or cracks before the surrounding surface needs attention. On difficult elevations, paying for a better-matched acrylic system can reduce repeat prep and repainting, provided the surface is prepared correctly.
How Trim Material Changes the Best Paint Choice
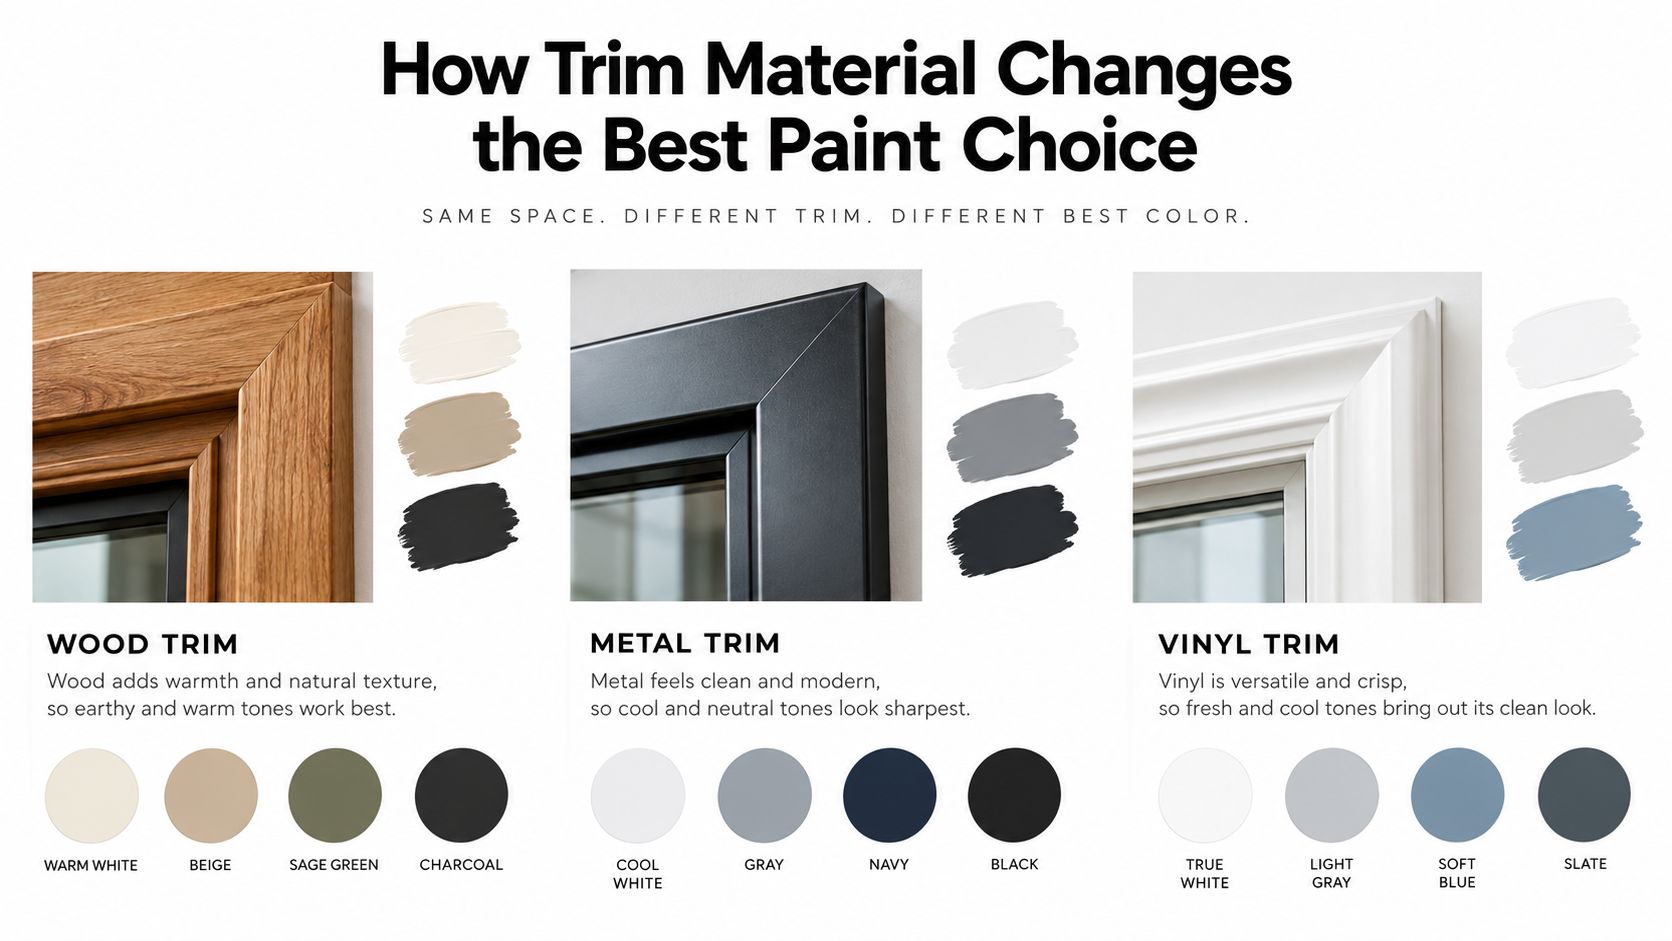
A St. Charles porch can put four different substrates on one elevation. The front door may be wood, the window frames vinyl, the railing metal, and the decorative gable trim fiberglass. Applying one paint to all of them may look efficient, but the surfaces move, heat, absorb moisture, and hold coatings differently.
The practical starting point is substrate, not brand. Bob Vila's exterior trim paint discussion makes the same point: trim needs a coating compatible with the material because it takes sun, rain runoff, hand contact, and repeated seasonal movement. Climate and the expected maintenance interval matter too. A shaded fiberglass accent may remain sound longer than south-facing wood, even when both receive the same product.
Wood trim
Wood accepts primer and paint well, but it responds to moisture. Boards swell and shrink, end grain pulls in water, and joints open as temperatures change. Those movements are common causes of cracked paint and recurring peeling.
For sound, properly prepared wood, an exterior 100% acrylic latex system is a practical starting point. The coating still depends on the surface beneath it. Remove loose paint, dull glossy areas, clean mildew, repair failing joints, and prime exposed or repaired sections with a compatible exterior primer.
Give extra attention to:
End grain
Lower board edges
Window sills
Fascia beside gutters
Joints and nail holes
Areas receiving runoff from a roof or upper trim
A rigid film can look excellent at first and fail once the wood moves. Water then enters through the split, and the next peeling cycle starts at the same vulnerable edge. On older porch trim, replace or repair soft wood before buying more paint.
Vinyl trim
Vinyl is a heat-sensitive manufactured surface, not painted lumber. It expands differently and may chalk as it ages. The coating must adhere to the surface without creating excessive heat absorption.
Choose paint specifically approved for vinyl or exterior plastics. Clean away dirt and chalk, and avoid harsh solvents that can soften or damage the material. Color also matters. A dark color on unsuitable vinyl can contribute to heat-related distortion or adhesion failure, so follow both the paint and trim manufacturer's recommendations rather than trusting a general exterior label.
Primer is product-specific. Some vinyl coatings are intended for direct application, while others require a bonding primer. Check the label and technical sheet before assuming primer will improve the result. On a porch where vinyl receives afternoon sun, a compatible lighter color may provide a safer service life than a dark color chosen only to match the door.
Metal trim
Metal requires a different failure analysis. Aluminum commonly develops oxidation, chalking, and adhesion problems. Steel can continue rusting beneath a fresh finish if corrosion remains in pits, seams, or fastener areas.
A sound metal coating system generally includes:
Cleaning and degreasing.
Removal of loose paint and corrosion.
Treatment of exposed steel where the product requires it.
A compatible rust-inhibiting or bonding primer.
An exterior acrylic or metal-rated topcoat.
Paint cannot stop active corrosion trapped beneath the film. It also will not adhere over oil, chalk, or a glossy factory finish that was never properly prepared. A railing with rust bleeding from joints needs more than a cosmetic topcoat. If corrosion has reduced the metal or loosened connections, repair comes before painting.
Fiberglass trim
Fiberglass is smooth and manufactured, but that does not guarantee easy adhesion. Release residue, gloss, old coatings, and uneven repairs can all interfere with bonding.
Clean the surface thoroughly, dull the sheen where appropriate, and use primer only when the coating manufacturer calls for it. A flexible exterior acrylic system is generally a better choice than a brittle coating when the trim experiences temperature movement. Test a small hidden area first if the existing finish or substrate is uncertain.
Trim Material | Recommended Paint Type | Primer Need | Expected Repaint Interval |
|---|---|---|---|
Wood | Exterior 100% acrylic latex, semi-gloss or soft-gloss | Usually needed on exposed wood, repairs, or uncertain surfaces | Often about 4–6 years for good appearance, depending on exposure and preparation |
Vinyl | Vinyl-compatible exterior acrylic or approved vinyl coating | Product-specific, confirm on the label | Exposure and substrate condition determine the interval |
Metal | Exterior acrylic or metal-rated coating over corrosion control | Commonly needed where bare metal, oxidation, or rust is present | Depends on corrosion, sun, moisture, and preparation |
Fiberglass | Flexible exterior acrylic system suited to the surface | Product-specific, based on adhesion and existing finish | Depends on exposure, cleaning, and coating compatibility |
The table is a planning guide, not a promise. South-facing trim, roof runoff, porch traffic, and freeze-thaw movement can shorten the maintenance interval. A shaded, protected piece may hold its appearance longer than exposed trim painted at the same time.
If boards are soft, split, or impossible to prepare, painting only hides the problem temporarily. Repair or replacement should come first. Homeowners weighing that work against a weekend DIY project can review exterior painting and repair services before deciding whether the job is within their tools, time, and repair experience.
Surface Preparation and Application Conditions That Matter
A premium can of paint can't rescue a dirty, glossy, damp, or unstable surface. Most early failures begin before the first topcoat, often at a peeling edge that someone painted over instead of removing.
Start with a substrate-specific inspection
For wood, press a screwdriver into suspicious areas. Softness, crumbling edges, and deep splitting indicate that the board may need repair rather than another coat. Scrape loose paint, feather the remaining edges with sandpaper, remove dust, and clean mildew before priming.
For metal, remove loose rust and paint until the remaining coating is sound. Treat exposed steel according to the primer instructions. For vinyl and fiberglass, use a gentler cleaning approach and avoid aggressive solvents that could damage or soften the surface.
A practical preparation sequence looks like this:
Stabilize the surface: Replace or repair rotten, split, or badly deteriorated trim.
Remove failure: Scrape peeling paint and sand sharp transition lines.
Clean thoroughly: Remove dirt, chalk, grease, mildew, and loose dust.
Protect adjacent areas: Mask glass, siding, masonry, hardware, and landscaping.
Prime selectively: Prime exposed substrate, repaired areas, stains, and surfaces that require a bonding or corrosion-control primer.
Seal appropriate joints: Use an exterior-grade sealant where the joint and substrate call for it.
Apply compatible coats: Follow the product's spread rate, recoat window, and temperature requirements.
The order matters. Painting over chalk leaves a weak layer between the new coating and the substrate. Sealing a damp joint traps moisture. Applying topcoat over a primer that hasn't cured can create wrinkling, poor adhesion, or an uneven finish.
Respect the weather window
Exterior acrylic can be applied in cooler conditions when the product allows it. Manufacturer technical data for one exterior house-and-trim acrylic lists application down to 40°F, along with flexibility and mildew-resistance testing in the same technical data sheet. That doesn't mean every acrylic product has identical limits, so check the specific label.
Direct midday sun creates a different problem. Paint can dry on the surface before it levels or bonds properly, especially on dark trim and warm metal. Work in shade when possible, follow the product's temperature range, and avoid starting a large elevation when the weather is changing quickly.
Rain is another obvious risk. Uncured paint can be damaged by moisture, and high humidity can slow drying. Check the forecast, protect the work from overnight dew, and don't rush a second coat just because the surface feels dry.
Application warning: If the trim is hot enough that the paint dries immediately under the brush, move to a shaded elevation or work during a cooler part of the day.
Use a quality angled sash brush for detailed trim, a small roller for broad flat sections, and a sprayer only when you can control overspray and back-brushing. Brushing helps work paint into profiles and edges. Spraying can produce a smooth finish, but it still requires masking, correct thinning if permitted, and enough material on the surface to achieve the specified film thickness.
A homeowner can handle a single-story section with stable trim, limited repairs, and manageable access. Call a professional when the work involves multi-story fascia, extensive rot, significant metal corrosion, difficult ladder positions, or a coating failure that keeps returning. Those conditions turn painting into a repair and access problem, not just a color project.
Choosing Sheen and Balancing Cleanability with Durability
A high-sheen finish exposes every flaw the preparation left behind. On a St. Charles porch, gloss can make dents, raised grain, brush marks, patched joints, and uneven sanding stand out from the sidewalk. It also reflects strong sunlight, which can make small surface defects look worse at certain times of day. Use more shine only when the trim is smooth enough to show it well and the sharper appearance is worth the extra scrutiny.
Where each sheen makes sense
Semi-gloss suits front doors, window casings, porch trim, railings, and other surfaces that people touch or wash. Its smoother film releases dirt more readily than a low-sheen finish, while its moderate reflection hides more imperfections than full gloss.
Soft-gloss fits fascia, soffits, and decorative trim when you want a quieter appearance. It remains easier to clean than a flat finish and avoids the highly reflective, plastic-like look that can make older wood appear uneven.
Satin or lower sheen can work on low-contact details, but the label must specifically rate the product for exterior trim. Interior wall paint is not a substitute for exterior coating because the sheen looks similar. The binder and additives still have to withstand outdoor moisture, temperature changes, and sunlight.
Flat and eggshell finishes usually create more maintenance work on exposed trim. Their texture can hold dirt and moisture, and repeated washing may wear the surface. Some architectural details can justify a lower sheen, but trim generally performs better with a film that can be cleaned without excessive rubbing.
Chemistry matters more than shine
A cheap vinyl-acrylic gloss is not automatically more durable than a premium acrylic semi-gloss. Sheen affects reflectivity and cleanability, but the binder, preparation, primer compatibility, substrate, and exposure determine whether the coating stays attached.
That distinction matters on a St. Charles home, where seasonal movement can stress joints and edges. Wood, vinyl, metal, and fiberglass do not move or accept coatings in the same way, so the sheen should follow the material and the product system, not the appearance alone. A flexible acrylic semi-gloss may outperform a harder, brittle coating when the substrate shifts because it can tolerate movement instead of cracking.
A shiny finish can be easier to clean, but it cannot compensate for the wrong binder or a failed surface underneath.
High-quality exterior trim systems are commonly planned around roughly 5–10 years of service, with actual performance depending heavily on preparation, primer compatibility, and climate exposure, as noted in Consumer Reports' exterior trim paint guidance. Treat that range as a planning guide, not a guarantee. A shaded, well-prepared vertical casing may hold its appearance longer than a horizontal sill exposed to constant runoff.
Choose sheen according to use and access. A frequently handled front door needs a finish that tolerates washing. Hard-to-reach soffits need a sound exterior system and routine inspection, because waiting for peeling makes the eventual repair larger.
Maintenance Timelines, Cost Expectations, and When to Call a Pro
Exterior trim rarely fails everywhere at once. A homeowner may see the south-facing window casing fade first, followed by a porch rail that gets handled constantly and a fascia board exposed to roof runoff. Maintenance works better when you inspect those high-stress locations before the coating has completely failed.
Vertical trim and horizontal trim also deserve different expectations. One recent guide estimates 5–7 years for vertical trim and 3–5 years for horizontal trim, even with good preparation and high-quality acrylic paint, because horizontal details collect more water and weather exposure. That comparison appears in this guide to trim sheen and durability.
Build a realistic repaint plan
Use the surface, not the warranty brochure, to set your schedule.
Vertical window and door trim: Inspect for chalking, fading, joint cracks, and loss of adhesion before the finish becomes visibly damaged.
Horizontal sills and ledges: Check more often for water staining, soft wood, peeling lower edges, and failed caulk.
Fascia and soffits: Look near gutters, roof intersections, and corners where runoff concentrates.
Porch rails and doors: Watch for hand oils, impact damage, and worn areas that need washing or touch-up.
Premium exterior paint is commonly priced near $70–$100 per gallon and may cover approximately 350–400 square feet per gallon, according to This Old House's exterior paint reference. Trim calculations still need adjustment for surface condition, profile, primer, and the number of coats. New or stripped wood often needs more material than a sound, previously painted surface.
A 25-year warranty may sound like a maintenance schedule, but it isn't. Manufacturer warranties can include conditions about preparation, application, ownership, coverage, and the type of failure covered. Sun-exposed trim can need cleaning, touch-up, or repainting long before a warranty period ends.
Decide whether DIY is sensible
DIY makes sense when the project is limited, the trim is sound, the access is safe, and you can give preparation the time it requires. A small porch or a few accessible window casings are reasonable projects for a careful homeowner with a scraper, sanding block, cleaning supplies, masking materials, a quality brush, and the correct primer.
Professional help is the safer choice when:
The home has multi-story fascia or tall gables.
Trim boards are rotten, split, or pulling away from the structure.
Metal trim has widespread rust or failing layers.
Several substrates need different primers and coatings.
You're dealing with extensive peeling from an unknown prior paint system.
The project must be completed cleanly around masonry, landscaping, windows, or occupied areas.
For homeowners in St. Charles, O'Fallon, Lake St. Louis, Chesterfield, Wildwood, St. Peters, Ballwin, and nearby communities, 1st Choice Home Repairs services include exterior painting and related home repair work. The company describes 25 years of hands-on experience, transparent pricing, flexible financing, and work that can include preparation, exterior painting, and trim repair before coating.
The right process is straightforward. Identify the substrate, repair damage, clean and prepare the surface, choose a compatible primer, use a 100% acrylic exterior system where appropriate, select semi-gloss or soft-gloss based on use, and plan maintenance around exposure rather than a marketing promise.
Ask 1st Choice Home Repairs to inspect your exterior trim, identify damaged areas, and match the preparation and coating system to your wood, vinyl, metal, or fiberglass surfaces. Visit 1st Choice Home Repairs to discuss exterior painting, trim repair, upfront pricing, and a practical plan for your St. Charles area home.
Comments