
AC Running but Not Cooling: Homeowner Fixes

You hear the indoor blower running, but the rooms keep getting warmer. The thermostat says the system is cooling, the vents are moving air, and yet that air feels barely cool or completely warm. Before you assume the entire air conditioner has failed, use a controlled diagnostic sequence. The right order can separate a setting problem or airflow restriction from a frozen coil, refrigerant leak, electrical fault, or worn compressor.
Immediate Actions When Your AC Blows Warm Air
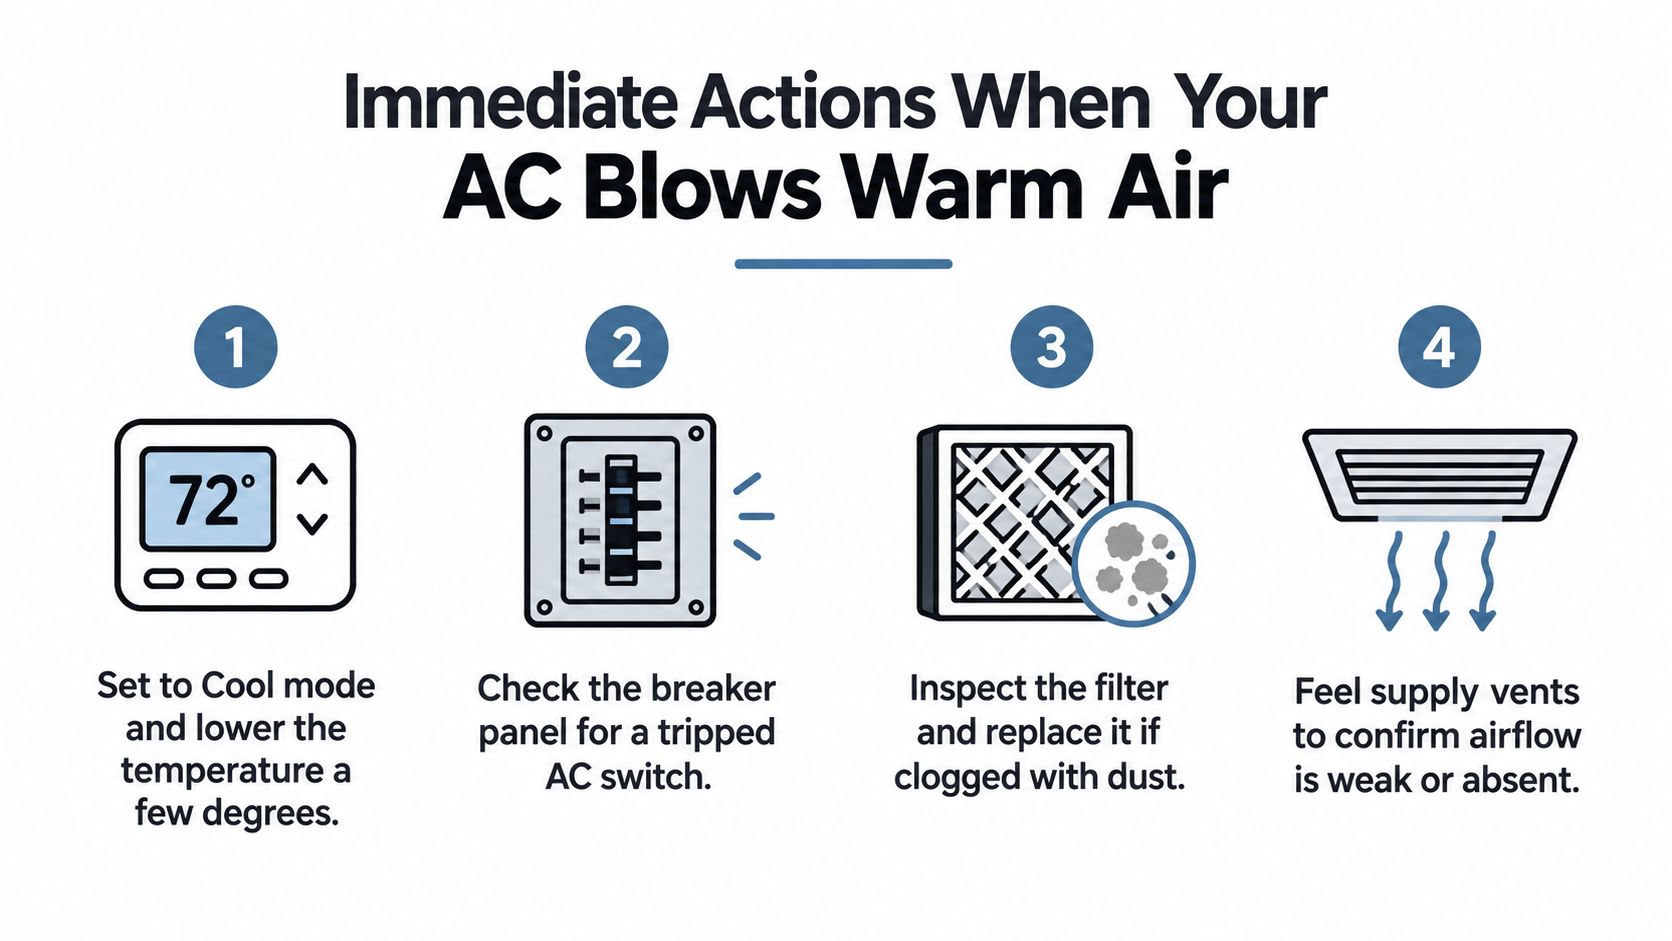
When an AC is running but not cooling, the first instinct is often to lower the thermostat repeatedly or start removing panels. Resist both. A system that's struggling may already be operating under excessive stress, and random resets or part replacements can hide the original fault.
Start at the thermostat. Confirm that the mode is set to Cool, not Heat or Fan, and set the target temperature below the current room temperature. If the fan is set to On, it may continue blowing between cooling cycles. That can make the air feel warm even when the system has stopped actively cooling, so use Auto while testing.
If the thermostat appears correct but the system isn't responding normally, turn the cooling system off and allow about 5 minutes before restarting it. Carrier's troubleshooting guidance recommends this pause as part of a basic reset process. The delay gives controls and pressure in the system time to settle instead of forcing an immediate restart.
Listen to the outdoor unit
After the reset, stand near the outdoor condenser while the thermostat is calling for cooling. You may hear the outdoor fan running, the compressor starting with a deeper hum, or no outdoor activity at all. The indoor blower can operate even when the outdoor section has lost power or the compressor isn't engaging, so airflow from the vents doesn't prove that the complete cooling cycle is working.
Check the electrical panel for a tripped air-conditioning breaker. If it has tripped once, you can reset it fully to the off position and then back on. If it trips again, stop there. Repeated resets can indicate an electrical or compressor problem, and the system needs professional diagnosis rather than more power cycles.
Look at the outdoor unit without opening it. Leaves, grass, plastic bags, and dense vegetation can restrict the condenser's ability to release heat. Don't reach through the grille, touch wiring, or remove the service panel while power is connected.
Practical rule: If the breaker trips again, you smell burning, or the outdoor unit makes a loud electrical noise, turn the system off and arrange service.
The same cautious approach applies indoors. If you see ice on the refrigerant line or near the indoor coil, shut off cooling. You can leave the indoor fan running only if your equipment and thermostat allow that safely, but don't chip at the ice or keep demanding cooling. Ice usually indicates an airflow or refrigerant problem, and continued operation can increase strain on the compressor.
At this stage, record what you observed: thermostat settings, whether the outdoor fan ran, whether the breaker tripped, and whether ice was visible. Those details give a technician a much better starting point than “it stopped working.”
Safe DIY Inspections for Airflow and Power
Once the thermostat and reset have been checked, inspect the parts you can reach without tools or electrical exposure. Airflow comes first because a blocked path can make a healthy refrigeration circuit appear defective. A filter, return grille, closed vent, or obstructed condenser can prevent the system from moving or rejecting heat.
Begin with the indoor filter. Turn the system off at the thermostat, locate the filter at the return grille or air-handler cabinet, and note the airflow arrow before removing it. If the filter is visibly packed with dust, pet hair, or construction debris, replace it with the correct size and orientation. Don't install a smaller filter in a larger slot or stack filters to compensate for a poor fit.
Check the air path room by room
Walk through the home and inspect supply vents and return grilles. Move furniture, rugs, curtains, and storage boxes away from openings. A closed supply register won't cause every AC failure, but several blocked registers can reduce circulation and create uneven temperatures.
Returns deserve particular attention. The system needs a clear route for warm indoor air to reach the evaporator coil. If the return grille is covered or the filter is heavily restricted, the blower may run while the coil receives too little air. That can contribute to freezing and weak cooling.
The outdoor condenser needs a clear path too. Remove loose leaves and grass from around the unit by hand, but keep the electrical cabinet closed. Don't spray a pressure washer into the coil, bend the fins with a tool, or pour water over a unit that may still be energized. If the coil face is visibly dirty and you're unsure how to clean it safely, a qualified home repair professional can help determine whether the task belongs with a handyman or HVAC technician.
You can check the disconnect box near the outdoor unit, but only from the outside. Confirm that it hasn't been visibly pulled or switched off. Don't open the box, remove the disconnect cover, or touch conductors. Air-conditioning circuits can remain dangerous even when the thermostat is off.
What you can inspect and what you can't
A safe homeowner inspection includes:
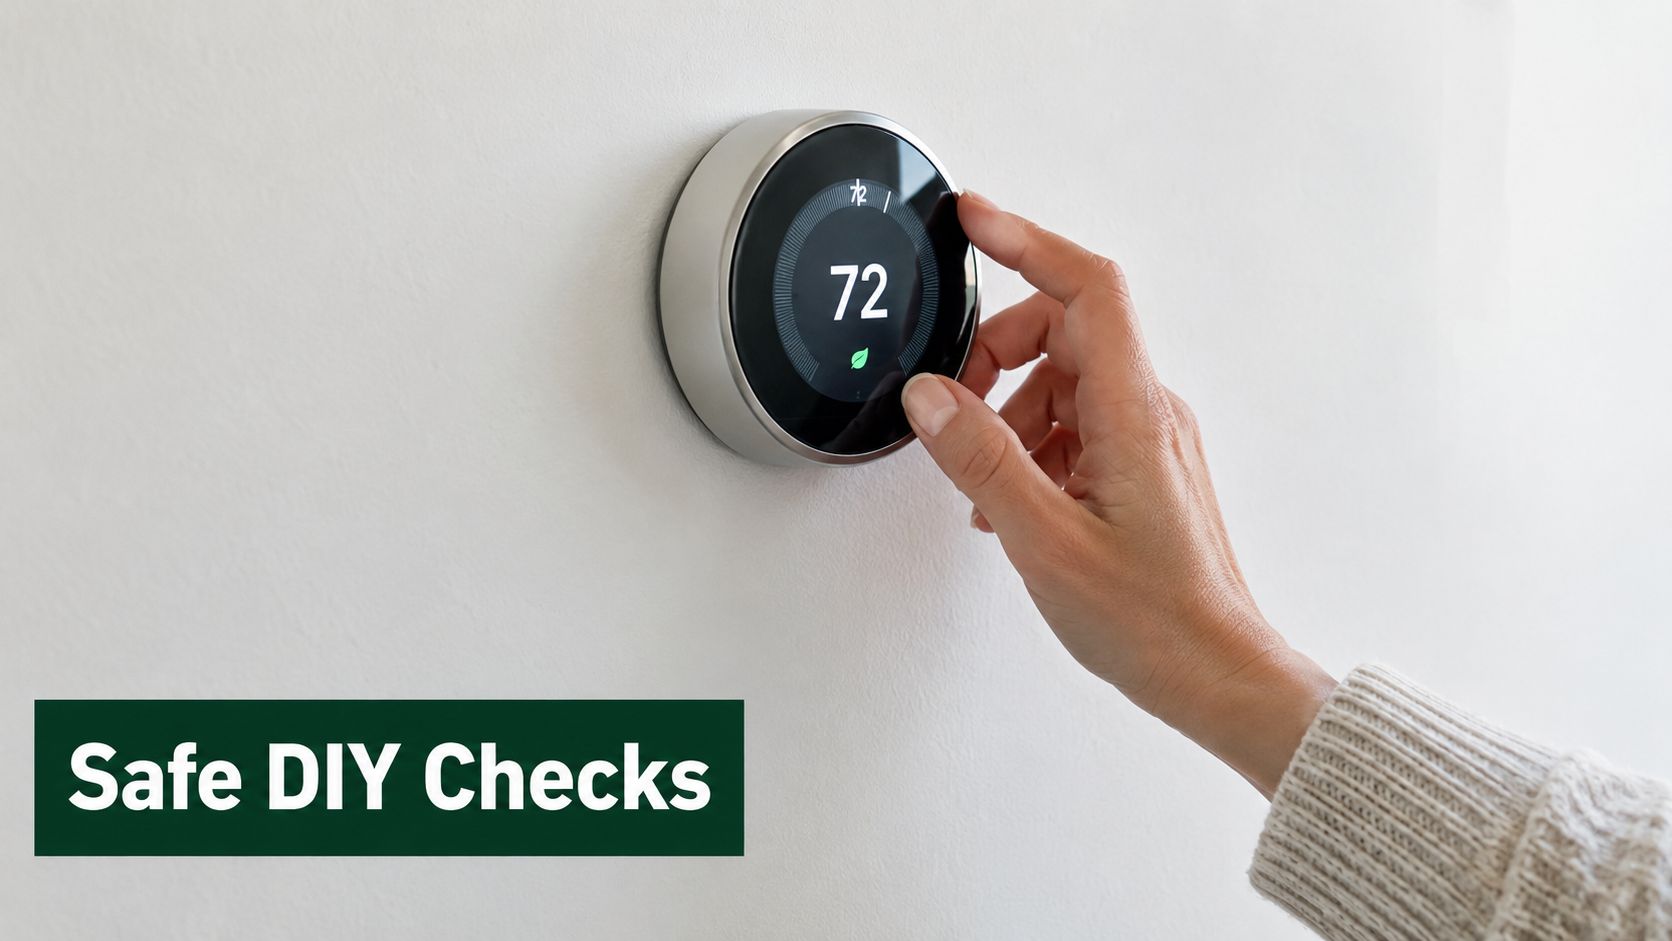
Thermostat operation: Confirm mode, setpoint, fan setting, and visible battery warnings.
Filter condition: Replace a filter that is loaded with dust or badly collapsed.
Vent access: Clear supply and return openings from household obstructions.
Outdoor clearance: Remove loose debris and cut back vegetation without touching the unit.
Breaker status: Look for a tripped AC breaker, then stop if it trips again.
It doesn't include opening the indoor air handler, testing capacitors, handling refrigerant lines, or bypassing controls. Don't chip ice from a coil, cut insulation from copper tubing, or add refrigerant from a consumer canister. Those actions can cause injury, damage equipment, and make a later diagnosis less reliable.
If you're unsure whether the blower is moving enough air, compare the weak stream at several vents rather than guessing from one room. A technician can measure airflow and static pressure, which is more useful than relying on how cold one vent feels.
For a visual walkthrough of the basic homeowner checks, use the following guide before calling for service:
If replacing the filter and clearing accessible obstructions doesn't restore cooling, stop repeating the same checks. The next step is measurement, not another filter change.
Mechanical Failures and Airflow Dynamics
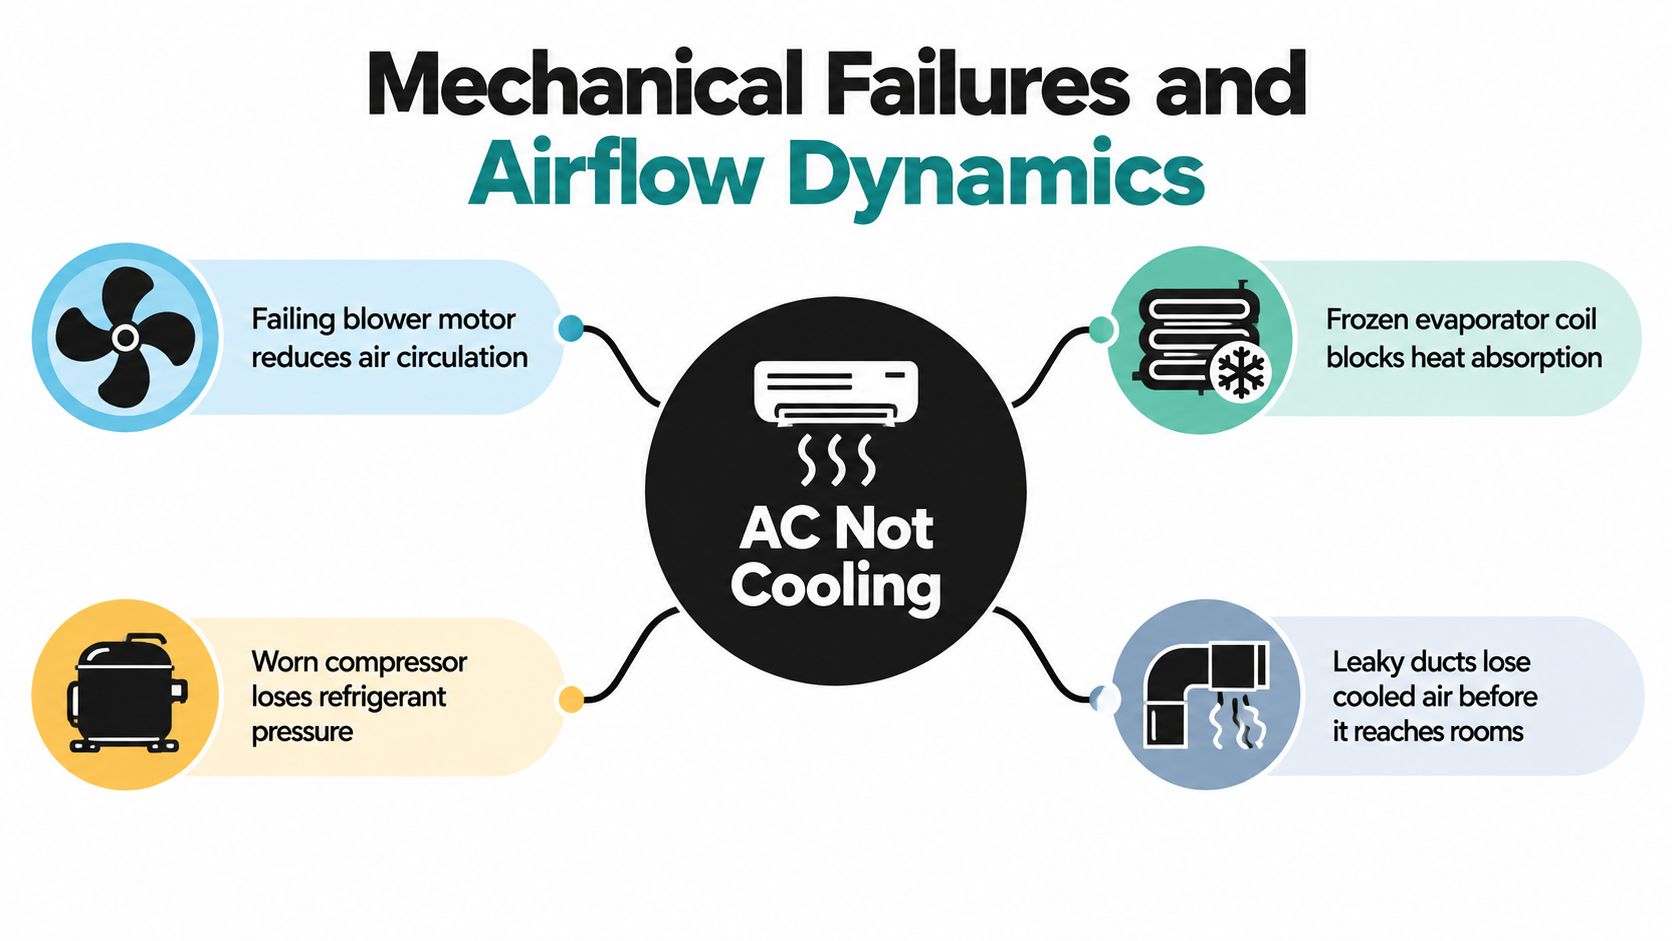
An air conditioner doesn't cool just because a fan is turning. The indoor blower moves air across the evaporator coil, refrigerant absorbs heat inside, the compressor circulates that refrigerant and creates the pressure difference that drives the cycle, and the outdoor condenser releases the collected heat. A failure in any part of that chain can leave the blower running while the home remains warm.
The compressor deserves special attention in older systems. An HVAC source citing the ASHRAE Handbook: HVAC Applications, 2023 places the median service life of a residential hermetic compressor at 12 to 15 years, with a standard deviation of 3 to 5 years. The source is summarized in this technical service-life reference. That range isn't a promise or a failure deadline. It means age changes the probability that compressor wear, electrical damage, or declining performance is part of the diagnosis.
Why airflow can look like a refrigerant problem
The evaporator needs the correct amount of indoor air moving across its surface. A clogged filter, restricted return, failing blower motor, blocked duct, or severely dirty coil reduces that airflow. The coil can become too cold, ice can form, and the remaining air reaching the rooms may feel warm or weak.
That symptom is easy to misread. Ice doesn't automatically prove that the system is low on refrigerant, and adding refrigerant without correcting the airflow restriction can leave the underlying problem untouched. The U.S. Department of Energy's airflow and charge guidance emphasizes measuring airflow and verifying refrigerant charge rather than guessing, because poor airflow can create false low-charge symptoms and low charge can be masked by airflow problems.
A technician should inspect obvious restrictions first, then take measurements. Depending on the equipment, that may include airflow, temperature change, refrigerant pressures, electrical readings, and the condition of the indoor and outdoor coils. The sequence matters because a refrigerant adjustment made before airflow is corrected can produce an inaccurate diagnosis.
Mechanical clues that change the diagnosis
A weak indoor stream points toward a filter, blower, duct, or coil restriction. Strong airflow with warm air shifts attention toward the outdoor unit, compressor operation, refrigerant circuit, or controls. Uneven temperatures can suggest duct leakage or distribution problems, while repeated icing demands attention to both airflow and refrigerant conditions.
A compressor that hums but fails to start may have an electrical starting problem, but the sound alone isn't enough to identify the failed part. A quiet outdoor unit may have a control, breaker, disconnect, or wiring issue. These components require electrical testing, not visual guesswork.
A cold vent doesn't prove the system is healthy, and a warm vent doesn't identify the failed part. The pattern of airflow, ice, outdoor operation, and system age gives the technician a direction. Measurements provide the answer.
Don't allow a contractor to skip the airflow question when recommending refrigerant or compressor work. A credible diagnosis should explain what was measured, what was found, and why the proposed repair addresses the cause rather than just the symptom.
Refrigerant Leaks and the R-22 Phaseout Impact
An AC can run continuously, move air through the vents, and still have too little refrigerant to cool the home. Refrigerant is not consumed like fuel. A low charge usually means a leak or charge loss during earlier service, so the leak source should be identified before anyone treats a recharge as the repair.
R-22 equipment adds cost and availability concerns. The U.S. Environmental Protection Agency's R-22 guidance states that production and import of HCFC-22, commonly called R-22, ended on January 1, 2020. Existing systems may still be serviced with recycled, reclaimed, or previously produced refrigerant. New air-conditioning systems using R-22 were prohibited, but homeowners do not have to replace equipment solely because it uses R-22.
What the phaseout means at home
Two dates help explain the repair situation. 2010 marked the end of new R-22 equipment, while 2020 marked the end of new U.S. production and import. Older central and window units can continue working, yet a leak may become harder or more expensive to address as refrigerant supplies, compatible parts, and technician requirements affect the job.
An R-22 repair can still make sense when the leak is small and accessible and the rest of the system is in good condition. The key question is whether the work should restore dependable operation or only delay replacement. Ask the technician to identify the leak location, describe the repair method, list the refrigerant required, and explain what risks remain after service.
A recharge without leak investigation is incomplete. It may restore cooling temporarily, but it does not correct the reason the charge fell. An inaccessible coil leak or a failing major component can turn a simple-looking service call into a short-lived expense.
Newer refrigerants still involve transition risk
Refrigerant availability is not a single, universal shortage. Recent HVAC coverage describes 2026 as “more normal-ish” after an R-454B supply crunch and reports that distributors are finding plenty of R-410A for now. The trade coverage of ongoing refrigerant transition challenges instead emphasizes volatility, pricing, and the difficulty of changing equipment and supply chains.
Those conditions can change the repair path even when the symptom is the same. A quote may depend on the refrigerant type, local inventory, equipment design, recovery requirements, component availability, and whether the technician must locate a leak before charging. Do not approve refrigerant work until the diagnosis accounts for those factors.
Ask these questions before approving service:
Which refrigerant does my system use? Confirm it from the equipment label or technician rather than assuming from the unit's age.
Where is the leak? Find out whether the location was confirmed or only suspected.
What does the repair include? Clarify leak detection, component repair, evacuation, recharge, and performance testing.
Is replacement recommended because of equipment condition or refrigerant policy? These are related, but they are not the same reason.
What happens if the system leaks again? A written answer makes repair and replacement easier to compare.
A refrigerant transition does not automatically condemn an older system. It does make supply, pricing, and future service part of the decision, rather than treating the problem as a routine top-off.
Evaluating Repair Costs and Replacement Timelines
Homeowners often want a price before anyone has identified the failure. That's understandable during a hot day, but a reliable cost comparison starts with the diagnosis. A filter replacement, electrical component, blower fault, leak repair, and compressor failure are not interchangeable jobs, and the correct choice depends on equipment age, refrigerant, accessibility, and the condition of the rest of the system.
The compressor service-life data provides useful context without creating a rigid rule. A residential hermetic compressor has a median service life of 12 to 15 years, with a standard deviation of 3 to 5 years, according to the HVAC source citing the ASHRAE Handbook in the referenced technical document. A system near that range deserves a broader condition assessment when the compressor fails, especially if it also has an older refrigerant, repeated leaks, damaged coils, or poor airflow.
Use the decision matrix, not panic
System Age | Primary Symptom | Recommended Action |
|---|---|---|
Newer system | Filter restriction, blocked vent, or thermostat issue | Complete the safe inspections and correct the basic cause |
Newer system | Confirmed electrical or airflow fault | Obtain a targeted professional repair and verify operation afterward |
Mid-life system | Refrigerant loss or recurring icing | Require airflow and charge measurements, then compare leak repair with equipment condition |
Mid-life system | Compressor or major coil failure | Request a repair scope and a replacement comparison before approving work |
Around the compressor median range | Persistent warm air with compressor concerns | Evaluate the compressor, refrigerant circuit, electrical components, and replacement timing together |
Older system with obsolete refrigerant | Major leak or repeated cooling loss | Compare repair availability and future service exposure with replacement |
The matrix isn't a substitute for an inspection. It keeps the conversation focused on total system condition, not just the cheapest immediate invoice. A low-cost repair can be sensible on a younger, well-maintained system. The same repair may be poor value if an older unit has several unrelated defects waiting behind it.
Separate homeowner work from professional work
You can handle the filter, thermostat settings, vent access, exterior debris, and a visual breaker check. Professionals should handle refrigerant recovery and charging, leak detection, compressor testing, capacitor and contactor diagnosis, sealed-panel electrical work, coil cleaning that requires access, and airflow measurements.
Don't approve a compressor replacement solely because the fan runs and the air is warm. The technician should establish whether the compressor receives power, attempts to start, draws abnormal current, and creates the expected refrigerant conditions. A failed capacitor, control, or wiring issue can produce a similar symptom while calling for a different repair.
If replacement is the right path, ask for a written scope covering equipment, installation, removal, accessories, warranty terms, and any duct or electrical corrections. If the timing is difficult for your household budget, review available financing options as part of the comparison, but keep the decision anchored to the system's condition and the proposed work.
Preventative Maintenance and Local Expert Support
Routine observation prevents many cooling failures from becoming expensive repairs. If airflow weakens, ice returns, outdoor sounds change, or cooling runs stretch longer than usual, arrange diagnosis before the compressor is affected.
Start indoors. Inspect the filter during heavy-use periods and replace it when loaded or damaged. Keep return grilles open and supply registers clear. Rooms that gradually become warmer than the rest of the home can point to airflow or duct trouble, even if the thermostat reaches its setting.
Keep leaves, grass, and stored items away from the outdoor condenser. Look through the cabinet openings, but do not remove panels. Bent fins, heavy dirt, or vegetation growing into the coil require a professional assessment because some cleaning is safe only after the equipment is de-energized and the coil's condition is understood.
A practical seasonal routine
Before heavy cooling begins, test the thermostat, check the filter, inspect accessible vents, and examine the outdoor unit. Listen when cooling starts. Unusual buzzing, grinding, or delayed startup deserves attention before extreme heat exposes a larger fault.
During regular operation, watch for warm air, weak airflow, ice, water near the indoor unit, repeated breaker trips, or short cycling. Turn the system off if it is visibly frozen or produces a burning smell. Repeated resets can hide an electrical problem and add stress to the equipment.
During professional maintenance, ask for measured checks of airflow, electrical connections, coils, condensate drainage, refrigerant condition, and system controls. The purpose is to identify developing faults, not approve every suggested replacement. Measurements also clarify which repair is justified and which can wait.
Refrigerant policy belongs in the repair decision. Earlier coverage from ACHR News discusses the more stable outlook for some supplies in 2026 after an R-454B supply crunch, while still describing volatility and transition complexity. Homeowners should not choose a repair from shortage headlines alone. Ask which refrigerant the system uses, whether local technicians can service it, what a leak repair requires, and how that cost compares with the unit's remaining condition. Policy transitions can affect parts, refrigerant availability, and labor, so the diagnostic sequence should come before any replacement recommendation.
Know when local help is appropriate
DIY work ends when diagnosis requires instruments, refrigerant recovery or charging, energized electrical testing, or access to sealed components. A written diagnostic report is more useful than repeated resets or parts bought without confirming the fault.
For homeowners in St. Charles, O'Fallon, Lake St. Louis, Chesterfield, Wildwood, St. Peters, Ballwin, and nearby communities, contact 1st Choice Home Repairs for the next practical step. The company handles air-conditioning installation, maintenance, and emergency repair work with 25 years of hands-on experience, transparent communication, and flexible financing for larger projects.
If basic checks do not restore cooling, 1st Choice Home Repairs serves St. Charles and surrounding communities with same-week diagnostics, clear pricing, and experienced repair or replacement guidance. Schedule service with 1st Choice Home Repairs before warm air leads to wider equipment damage.
Comments